How to Use a Reverb Plugin Properly
Introduction
Reverb is an essential audio effect used in music production and audio engineering to add depth, space, and realism to audio recordings. While it's possible to achieve reverb effects using physical spaces, reverb plugins offer a versatile and convenient way to manipulate the reverberation of your audio. In this article, we'll explore how to use a reverb plugin properly, covering the fundamental principles and techniques to help you achieve the desired sound.
1. Understand the Basics
Before diving into the practical aspects of using a reverb plugin, it's crucial to understand the basics of reverb. Reverb, short for reverberation, is the reflection of sound waves off surfaces in an environment. Reverb plugins simulate this effect by adding artificial reflections to audio signals.
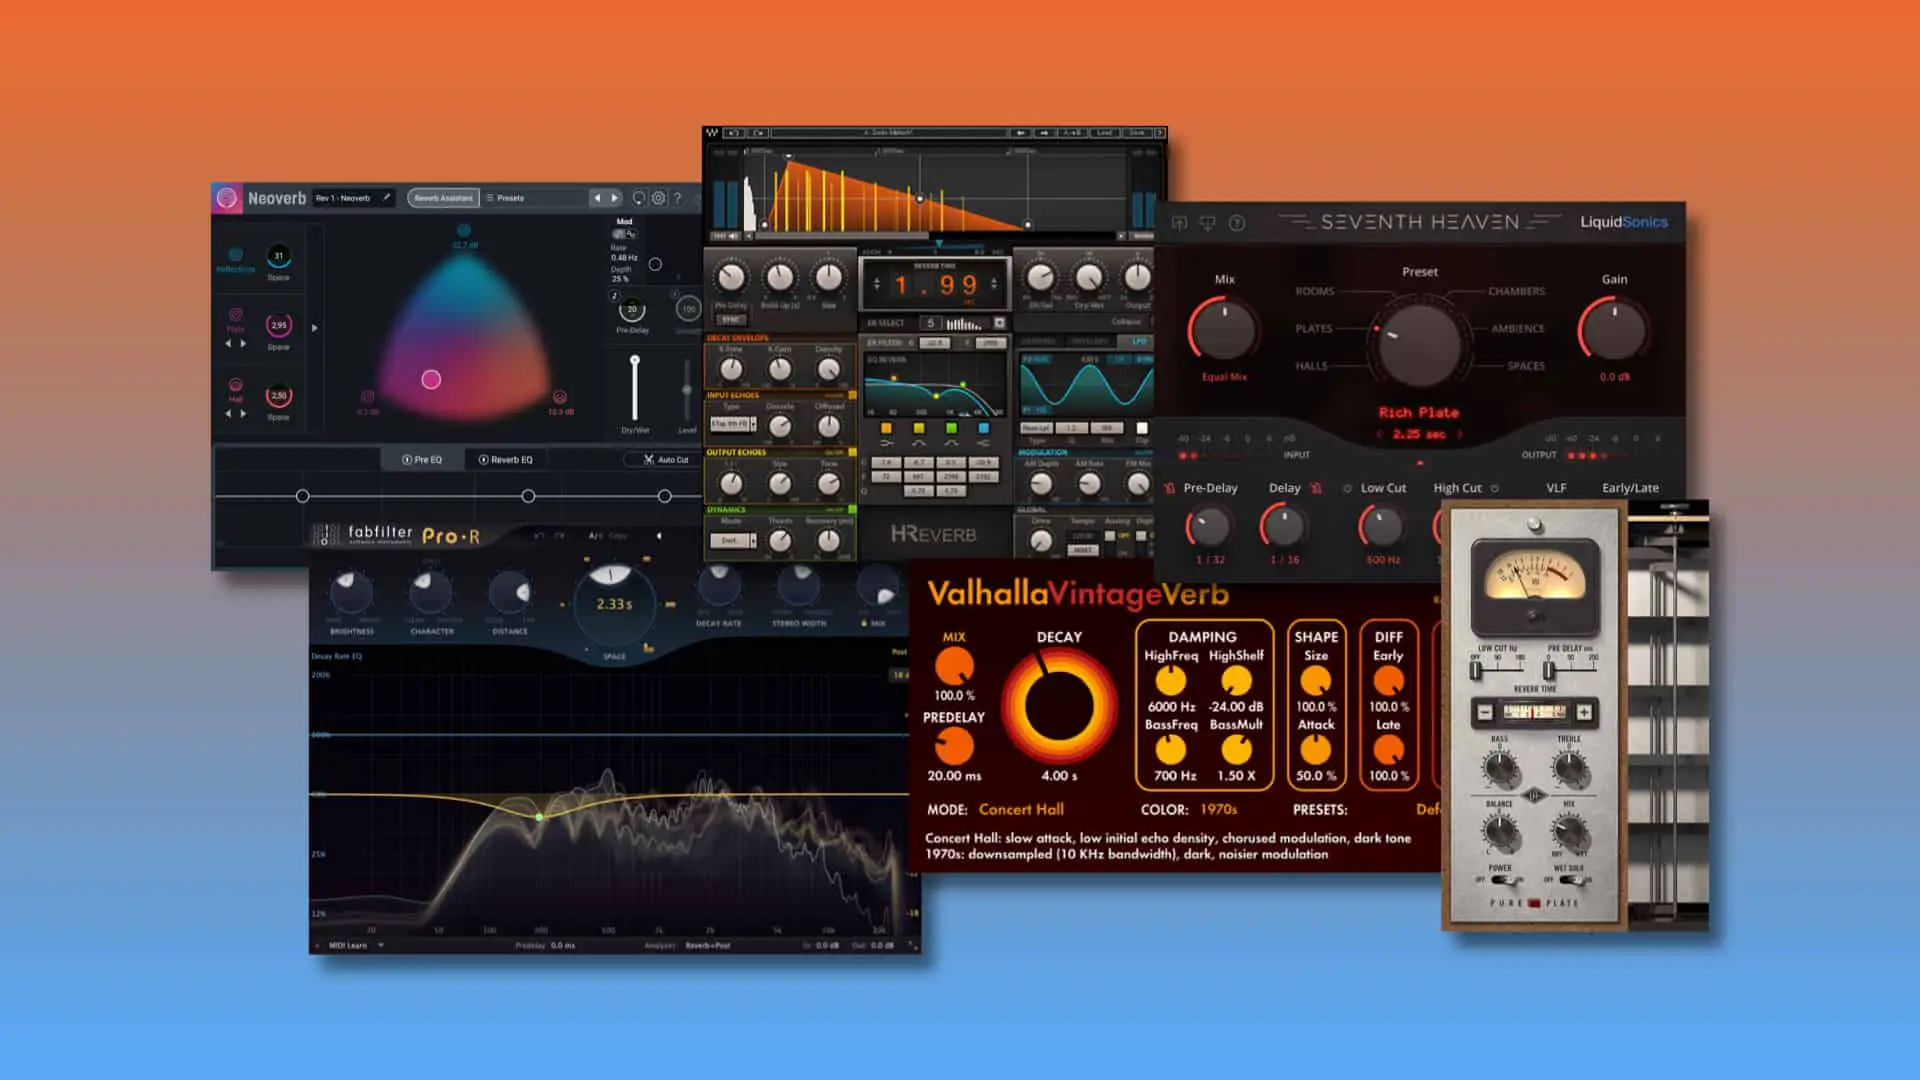
2. Choose the Right Reverb Plugin
Selecting the appropriate reverb plugin is the first step. There are various types of reverb plugins available, such as plate, room, hall, and convolution reverbs. The choice depends on the project's needs and the desired sonic characteristics. Experiment with different plugins to find the one that fits your audio best.
3. Set Up Your Signal Chain
To use a reverb plugin effectively, set up your signal chain correctly. Place the reverb plugin on an auxiliary (aux) or bus channel rather than directly on the audio track. This allows you to control the reverb amount individually for multiple tracks and maintain a more coherent mix.

4. Adjust Pre-Delay
Pre-delay is the time between the direct sound and the onset of reverb. It helps create a sense of distance. Short pre-delay values (10-30 milliseconds) make the sound source feel closer, while longer values (100-200 milliseconds) add a sense of space. Adjust pre-delay to suit the desired ambiance of your mix.
5. Control Decay Time
Decay time determines how long the reverb tail lingers. Short decay times work well for tight spaces, while longer decay times suit larger, more open environments. Be mindful not to overdo it, as excessive decay can muddy your mix.
6. Set the Wet/Dry Mix
Balancing the wet (reverb) and dry (original) signals is crucial. Typically, you'll want to add just enough reverb to enhance the audio without overwhelming it. Start with a subtle wet/dry mix and adjust as needed.
7. Use EQ to Shape the Reverb
Most reverb plugins offer EQ controls for shaping the reverb's tonality. Use EQ to remove unwanted frequencies, such as low-end rumble or harsh highs, to achieve a cleaner and more transparent reverb sound.
8. Experiment with Different Reverb Types
Don't limit yourself to a single reverb plugin or type. Experiment with different reverbs on various tracks to create depth and dimension in your mix. For instance, use a short plate reverb on vocals and a longer hall reverb on instruments.
9. Automate Reverb Parameters
Automation can be a powerful tool for adding dynamic movement to your mix. Automate parameters like wet/dry mix, pre-delay, or decay time to create evolving spatial effects throughout the song.
10. Consider the Positioning of Sound Sources
In virtual environments, consider the positioning of sound sources within your mix. Adjust the panning of tracks and apply different reverbs to each channel to mimic the spatial positioning of instruments in a room.
11. Use Sends and Returns
When dealing with multiple tracks that require reverb, use sends and returns to send audio from multiple tracks to a single reverb bus. This conserves CPU resources and ensures a cohesive reverb effect across multiple elements.
12. Listen Critically
Finally, the most important aspect of using a reverb plugin properly is listening critically. Trust your ears and make adjustments based on what sounds best for your project. Use reference tracks to compare your reverb settings and achieve the desired level of professionalism.
Conclusion
Properly using a reverb plugin is a skill that can greatly enhance your music production and audio engineering. By understanding the basics, selecting the right plugin, and applying the techniques mentioned in this article, you can effectively add depth, space, and realism to your audio recordings. Remember to experiment, trust your ears, and strive for a balanced and cohesive mix that suits the artistic vision of your project.
